Tissue paper flower: kirigami sakura tutorial, kids craft ideas
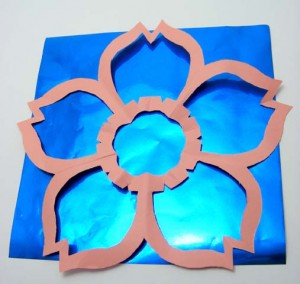
As mentioned a couple of days ago, Kirigami is the japanese art of paper cutting.
Here are instructions to make a simple sakura (japanese cherry blossom).
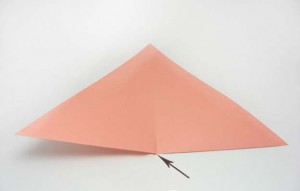
1 – Begin with a square piece of paper and fold diagonally to create a triangle.
Now, fold one bottom corner to the other and crease approximately 2cm to create a point of reference in the middle.
Now, fold one bottom corner to the other and crease approximately 2cm to create a point of reference in the middle.
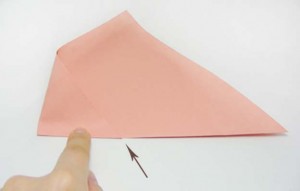
2 – Next, fold the bottom corners to the middle and crease approximately 2 cm.
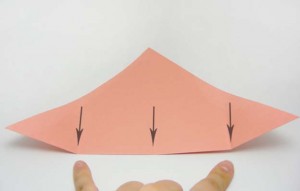
* You should now have three evenly spaced creased along the bottom of the triangle.
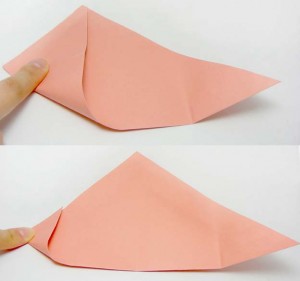
3 – Take the left corner and fold it up to the top point (crease 2 cm) and unfold.
Now, take the same corner and fold it to the newly created middle crease.
Repeat the last step, using the top point of the triangle and folding it to the new middle crease.
Now, take the same corner and fold it to the newly created middle crease.
Repeat the last step, using the top point of the triangle and folding it to the new middle crease.
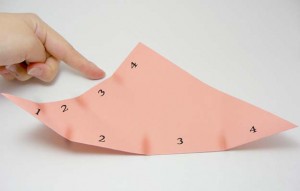
* You should now see four even sections along the bottom and left-hand side
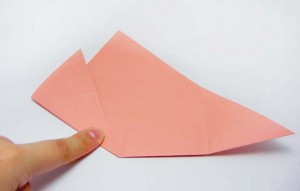
4 – Using the creases on the left-hand side, take the left bottom corner and fold it up to the top crease
(the fold should not surpass the bottom middle crease).
(the fold should not surpass the bottom middle crease).
This time, press down along the entire fold to keep it in place.
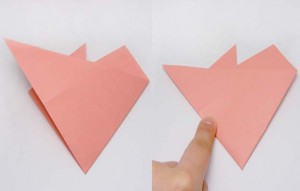
5 – Next, take the right bottom corner and fold it to the left-hand side. Make sure it’s folded along the edge, also, not surpassing the middle crease (this should give you a clean point at the bottom).
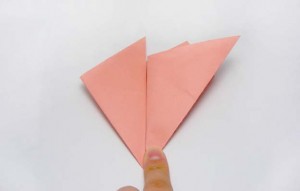
6 – Taking the same corner from the previous step, fold it in half, taking the corner back to the right-hand side. Make sure the edges are parallel.
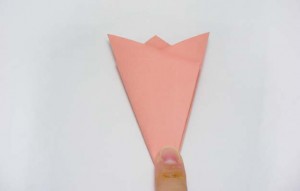
7 – Now, take the left side, fold over to the right, making sure to keep the edges parallel.
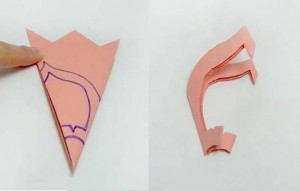
8 – Turn it over and draw a petal design. I chose a pointed petal design to create a sakura.
*Make sure to leave the left and right edges attached at some points in order to keep the entire image intact!
*Make sure to leave the left and right edges attached at some points in order to keep the entire image intact!

9 – Once the drawing is complete, cut it out and unfold it. You should have a lovely flower to decorate anything you like.
Try different styles to create a wide range of lovely designs.
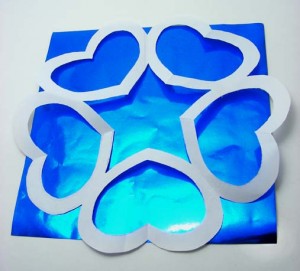
This one I tried with a semi heart shape:
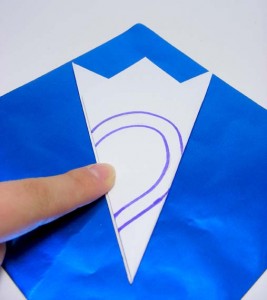
Once I cut it out, I thought it might look cheesy….

but to my surprise, it turned out different from what I imagined. The star in the middle adds a special touch.

Source:mihosuzuki.com


0 nhận xét:
Đăng nhận xét