Unique crafts for gifts: paper pens tutorial
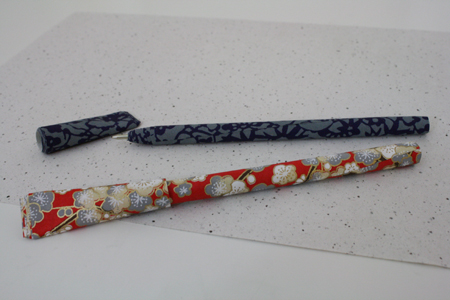
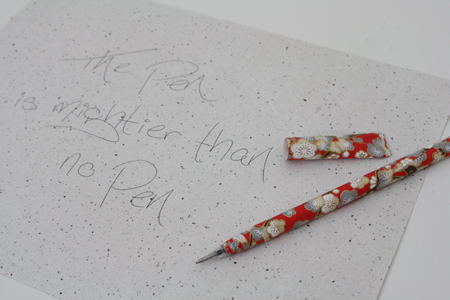
A few weeks ago I had a major “I could make that” moment when one of my coworkers handed me a pen. It was free pen she’d gotten from the campus copy store, and the entire body of the pen was paper. It was lightweight, had a wonderful feel to it, and looked pretty sweet.
I stared at it and then said, “Hey, I could totally make one of these!”In addition to being practical, easy, fast and pretty, this is one of those often hard-to-find crafts that could actually serve as a perfectly guy-ish, useful, elegant and handmade item to give Dad on Father’s Day. Maybe not with the red floral pattern, but that blue one is reasonably manly, doncha think?
What you’ll need:
- pens – the kind that can be taken completely apart with relative ease, and have a cartridge that’s pretty much just a straight stick shape – no fancy bits on the end
- pretty paper - any reasonably lightweight kind. Japanese paper works really well for this, but any paper that’s about computer paper weight will work.
- glue stick
- white glue
- scissors
- paint brush
- varnish
Putting it all together:
1) Take your pens apart and discard all the bits so you’re left with just the cartridge. As mentioned in the materials list above, you ideally want a pen cartridge that doesn’t has an even, smooth shaft with no funny bumps at the end (yes yes, haha, let’s all have a quick giggle after that little description). If the cartridge isn’t even all the way to the end, it will be harder to wrap the paper evenly around it.
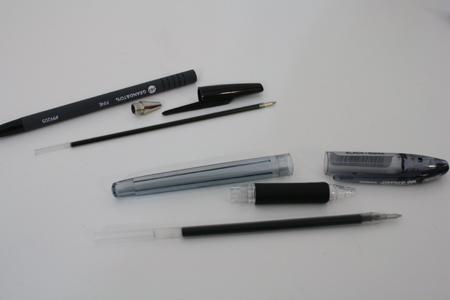
2) Take a piece of paper about 11″ long (so a standard size) and cut it so that it’s about 1/4 inch wider than your pen cartridge is long. Keep whatever scrap you cut off of one side – this will become the pen’s lid. As stated above, Japanese paper works brilliantly for this project. It is soft and flexible, adheres to itself very easily with the application of a little glue, and is easy to roll evenly. Scrapbooking paper and such will also definitely work, it’s just not quite as dreamily simple to roll smoothly around the pen cartridge. But the first time I tried this project I used scrapbooking paper, and it turned out fine.
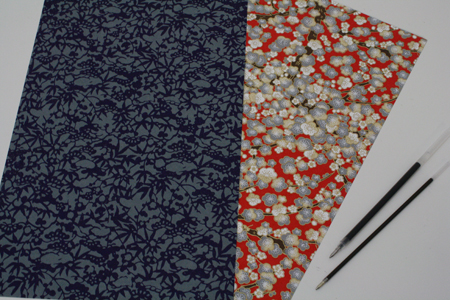

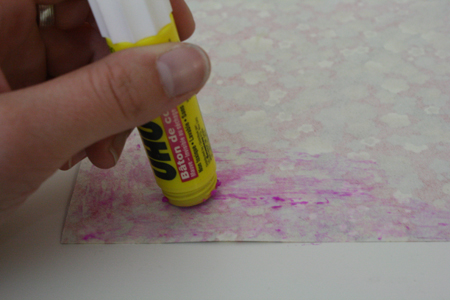
3) Lay your paper right side down and apply glue to its underside (which will be facing up). Keep going with the glue till about halfway up your sheet of paper. Be sure to get glue right up to the edges of the paper.
4) Lay the pen cartridge along it so that the writing end sticks out over the edge of the paper.
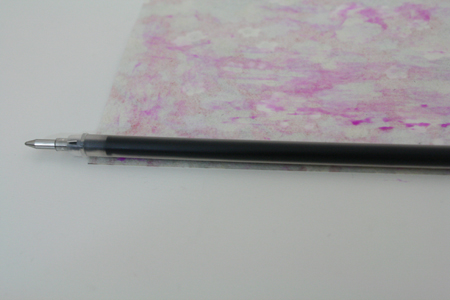
5) Roll the paper tightly around the cartridge, and keep rolling. When you reach the point where the glue stops, apply more and roll the pen around and around until you run out of paper.
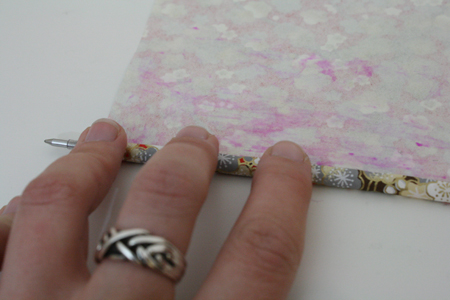
You can try to roll in a straight line, or you can deliberately go a bit crooked so that the writing end of your pen has a bit of a gradual point to it. I tried to roll the paper totally straight and just couldn’t make it happen, but in the end I liked the look of the uneven, gradual-point effect at the pen’s end.

Be sure to glue the final edge of the paper very thoroughly, and make sure it’s completely stuck down and smooth.
6) At the top end of the pen, cut off any excess paper so that the paper only goes about 1/8 to 1/4 inch above the end of the pen cartridge.
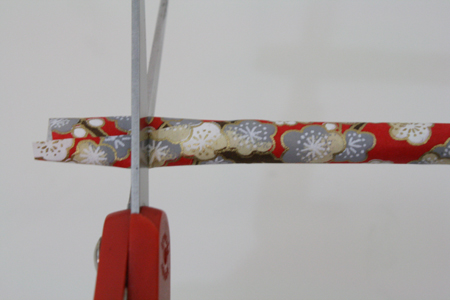
7) Take the paper you set aside in step 2 to use as the lid, and lay it right side down. Place the upper (non writing) end of your pen on it.
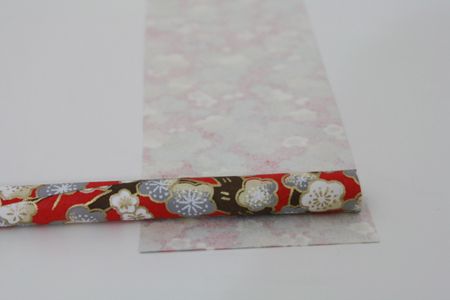
8) Roll the paper once around the pen, keeping it just slightly loose. Then apply glue to the remaining, unrolled paper.

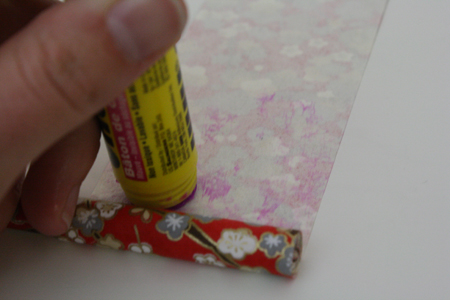
9) Continue rolling the paper, trying to keep the edges even, until it is all used up. Glue the final edge down well, and pull this rolled paper off of the pen. You should now have an open-ended tube that fits a bit loosely over your pen.
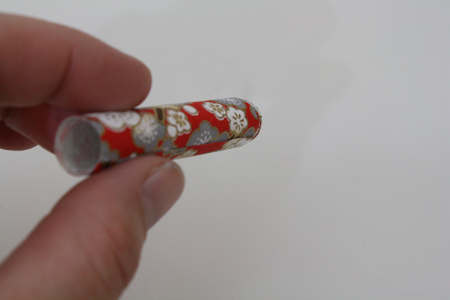
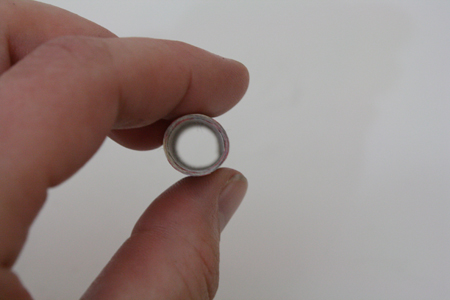
10) Apply some white glue to the inside edge of one end of your tube, then press down so that end of the tube flattens and sticks together. Hold until dry enough to stay in place on its own. Now your pen has a lid.


11) Now apply two or three coats of varnish to the pen and the lid. (This is why you wanted to keep that lid slightly loose – after a couple coats of varnish the pen should fit into it snugly, but without having to force it and wreck the paper.
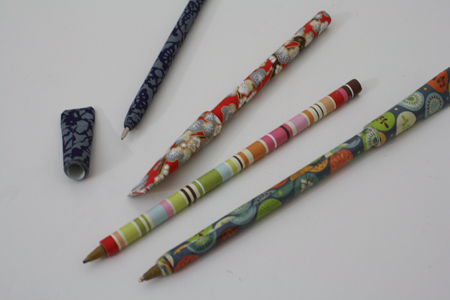
12) Write something stunning.


0 nhận xét:
Đăng nhận xét